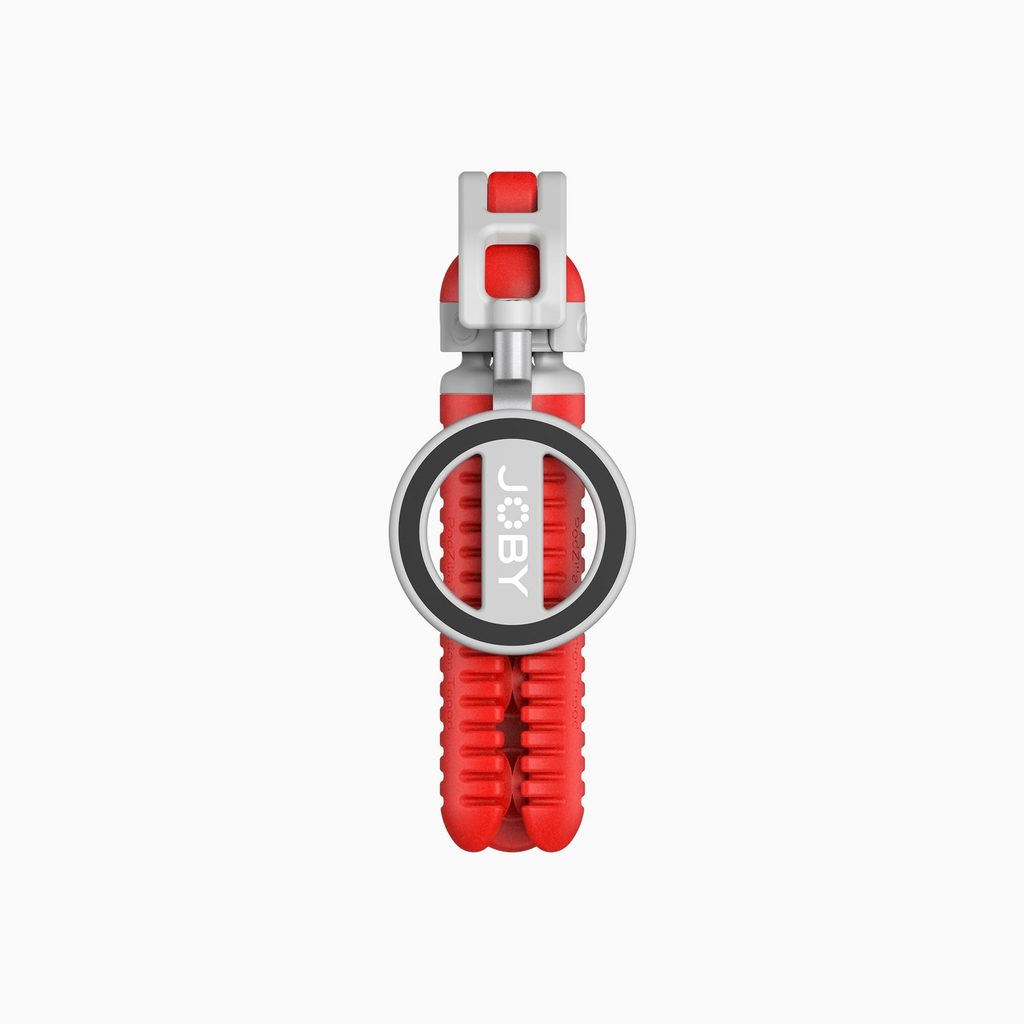
Most tripods need a flat, open surface to work, and that rules out a surprising number of places where great shots happen. Car windows, glossy kitchen tiles, bathroom mirrors, shop windows, and glass balcony panels all offer interesting angles, but you cannot set a regular stand on a vertical pane of glass. Clamps help sometimes, but they need an edge to grab and can leave marks.
A suction-based tripod promises a different approach: stick the camera directly to a smooth surface and shoot from angles that used to require a second pair of hands. The obvious question is whether that promise holds up in everyday use. The honest answer is that it depends on the surface, the preparation, and how you pair suction with flexible legs. This guide is for mobile videographers, social creators, and road trippers who want to understand where suction works best, where legs should take over, and how to mount securely so a phone stays put for the whole take.
How Suction and Flexible Legs Work Together
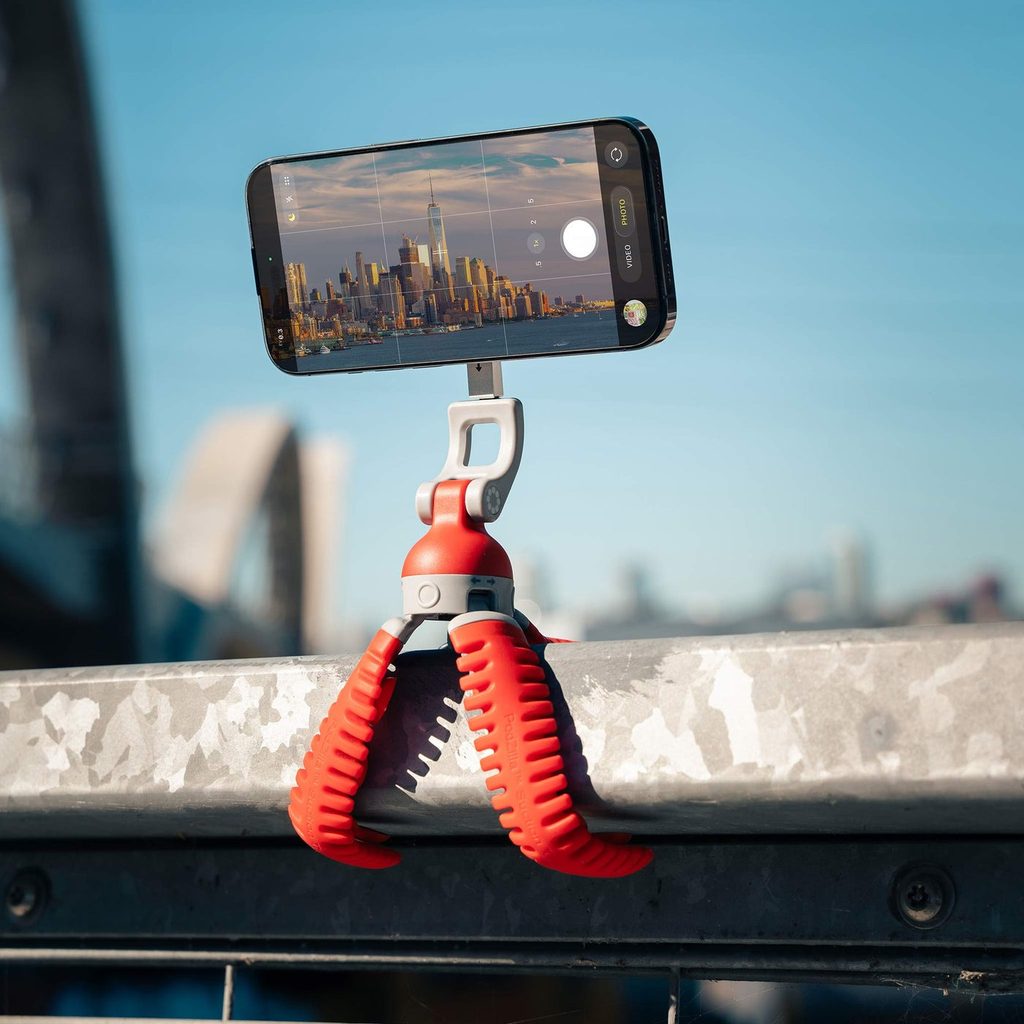
The Octo Suction Tripod combines two mounting methods in one body. A suction cup gives a firm hold on smooth, non-porous surfaces, while flexible legs can stand on a table, wrap around a pole, or grip a railing. Instead of forcing one method to handle every situation, you choose the one that suits the spot you are shooting from.
Suction works by removing air between the cup and the surface, so the outside air pressure presses the cup firmly in place. That is why the surface matters so much. If air can seep in through texture, pores, dust, or a curve the cup cannot seal against, the grip weakens over time. Flexible legs, on the other hand, rely on friction and shape. They grip best on objects they can wrap fully, such as bike handlebars, tree branches, or fence rails.
Knowing this basic difference helps you make a quick decision on location. Smooth and flat means suction. Round, textured, or irregular means legs. Flat and horizontal gives you the choice of either.
Surfaces That Suit Suction Best
Suction performs most reliably on hard, smooth, non-porous materials. Glass is the classic example, which is why windows and mirrors are such popular spots. Glazed ceramic tiles, polished stone, glossy laminate, lacquered wood, smooth plastic panels, and painted metal on appliances or vehicles also tend to hold well.
Surfaces that give suction trouble include textured dashboards, brushed or matte finishes, unsealed wood, fabric, wallpaper, brick, and anything with visible grain. Tile grout lines are another common weak point, so center the cup on a single tile rather than across a joint. Tight curves can also break the seal, because the cup cannot sit flush all the way around.
When to Switch to the Legs
If you are unsure about a surface, test it with a quick press and gentle pull before mounting your phone. If the cup releases easily or feels loose, switch to the legs. Outdoors, legs are often the better choice for railings, lamp posts, branches, and bike frames. Indoors, they work well on shelves, chair backs, and door handles. There is no advantage in forcing suction onto a surface it does not like when the legs can do the job securely.
Step-by-Step Mounting for a Secure Hold
Most suction failures come from rushing the setup. A few extra seconds of preparation make the difference between a mount that holds for hours and one that slowly slides down a window mid-recording. Follow this routine whenever you use suction:
- Wipe the surface clean with a dry or slightly damp cloth to remove dust, grease, and fingerprints.
- Check that the cup itself is clean, since trapped lint or grit will let air in.
- Press the cup firmly and evenly against the surface, pushing from the center outward.
- Engage the locking mechanism if there is one, then give the tripod a gentle tug to confirm the hold.
- Attach the phone last, once you know the base is secure.
On vertical glass, position the phone so its weight sits as close to the cup as possible. Long, extended arrangements create leverage that pulls on the top edge of the cup, which is where seals usually start to fail. Keep the setup compact and you will get a much more stable hold.
Using the Magnetic Mount for Fast Swaps
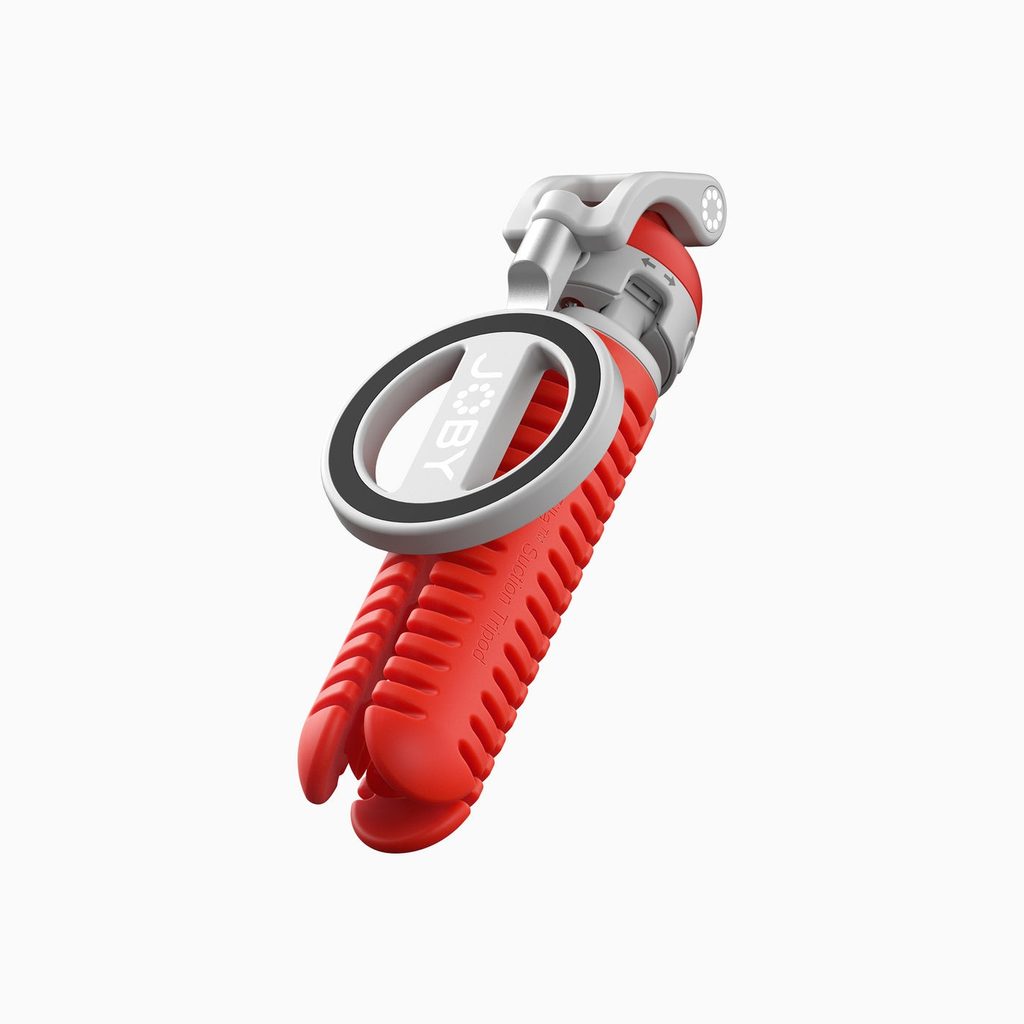
Once the base is set, a magnetic phone mount speeds everything else up. Instead of threading or clamping the phone each time, you snap it on and pull it off in a second. This is especially helpful when you move between shooting and checking footage, or when you want to grab the phone for a quick handheld clip and then return it to the same position.
The dual-sided magnet design also opens up a more advanced option: combining multiple units into a custom rig. With two mounts, you can set up a wide shot and a close-up at the same time, or build a small stack that reaches an angle a single tripod cannot manage. JOBY built the PodZilla range with this playful, modular approach in mind, encouraging creators to experiment rather than stick to one fixed position.
When snapping a phone onto a magnetic mount that is already attached to a wall or window, support the base lightly with your other hand. This avoids putting a sudden sideways force on the suction seal.
Checking Your Setup Before You Hit Record
A final check takes only a moment and saves you from discovering a problem halfway through a long take. Look at the framing on screen and confirm the horizon is level. Tap the tripod lightly to see whether the image wobbles. If it does, reduce the distance between the phone and the mount or move to a firmer spot.
Temperature matters too. Cold glass can stiffen the cup, while direct sun on a car window can soften materials and weaken the seal over time. For long recordings such as time-lapses, recheck the mount every so often. And wherever you mount, think about what happens if it lets go. Avoid positions above hard floors, water, or traffic, and in vehicles, never place anything where it blocks the driver’s view or interferes with controls.
Caring for the Cup So It Keeps Holding
A suction cup’s grip depends as much on its own condition as on the surface you press it against. Over time, rubber can pick up dust, oils from your hands, and tiny scratches that make it harder to form a complete seal. The good news is that basic care takes almost no time and noticeably extends how well the cup performs.
After each outing, wipe the cup with a soft, lint-free cloth. If it feels greasy or has lost some of its tackiness, rinse it with lukewarm water and a drop of mild dish soap, then let it air dry completely before using it again. Avoid harsh solvents, alcohol-heavy cleaners, or abrasive pads, since these can dry out or roughen the rubber. Never pull the cup off a surface by its edge with force; release the lock first so air can enter gently.
Storage matters too. Keep the tripod somewhere cool and away from direct sunlight, and avoid stacking heavy items on the cup, which can warp its shape. If you carry it in a bag, a small pouch prevents grit from sticking to the rubber. Treated this way, the cup stays soft and flexible, and you will spend less time wondering whether a mount will hold and more time actually filming.
One last tip: if a seal still seems weak on a surface that should work, slightly warm the cup in your hands for a moment before pressing. A more pliable cup conforms better and often solves the problem immediately.
Knowing Where Suction Wins
A suction tripod cannot stick to literally anything, but it can hold securely on far more places than a traditional stand can reach. Smooth, non-porous surfaces like glass, glazed tile, polished stone, and glossy panels are where suction shines, while flexible legs take over on rails, poles, branches, and textured or curved objects. Having both options in one tool is what makes it so adaptable.
The secret to a reliable hold is preparation. Clean the surface and the cup, press firmly from the center, lock and test before attaching the phone, and keep the weight close to the mount. Use the magnetic connection for quick swaps and multi-angle rigs, and always do a final wobble check before recording. With those habits in place, windows, mirrors, and tiled walls become fresh camera positions rather than off-limits spots.
